

Floor plan
First, log into the backoffice of the Posit application: https://backoffice.posit-app.com/ and enter the email with which you have subscribed and the password you have chosen. To create the floor plan of your store, follow the steps below:
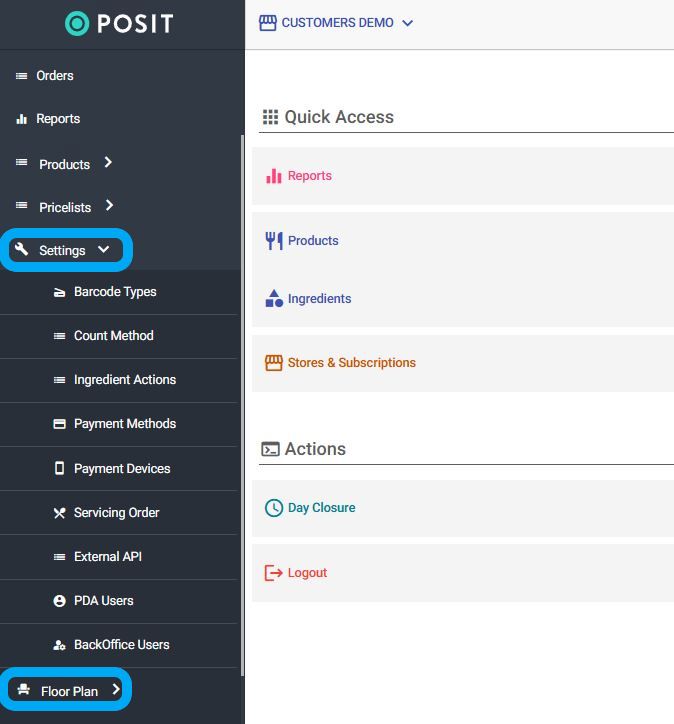
Step 1 --> From Settings, select Floor Plan.
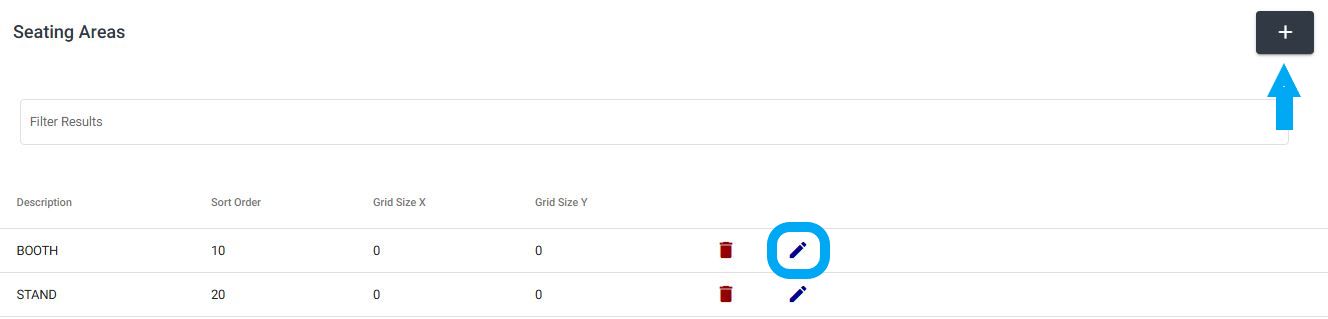
Step 2 --> Select "Seating Areas". If you wish to edit an existing service point, click the pencil icon on the right side of the specific service point. If you wish to create a new service area, click the "+" icon at the top right corner of the screen and fill in the fields "Description" (e.g. Beach, Tables) and "Sort Order". Once you have made changes to the service points, click "Save" at the top right.

Step 3 --> Once you have created seating areas, you can assign/edit floor plan tables in these specific areas. Select "Floor Plan Tables" from the Settings. If you wish to edit an existing floor plan table, click the pencil icon on the right side of the specific floor plan table. If you wish to create a new floor plan table, click the "+" icon at the top right corner of the screen and fill in the fields "Seating Area" (e.g. Booth, Stand), "Table No" (add the desired number), and in the "Floor Plan Element" field, select the automatic option Table_Generic that appears. Once you have made changes or created new floor plan tables, click "Save" at the top right.

Step 4 --> To apply the changes you made, select "Refresh PDAs" from the Dashboard, then refresh and log off from all your devices.
Note: The floor plan does not include an architectural representation.